An Extreme Quality Finish Precision Circular Saw Guide
Build a Better Joint
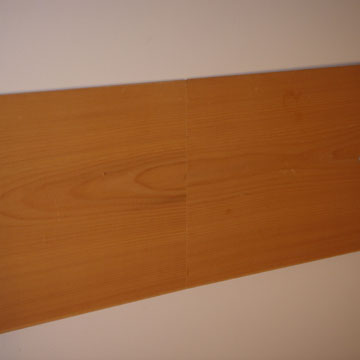
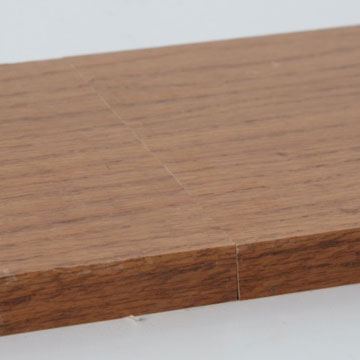
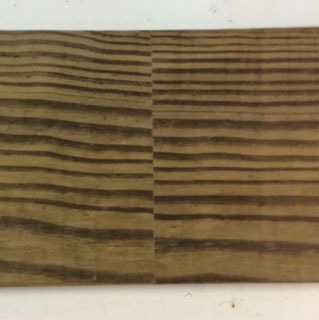
Seamless inline butt joints can be difficult to achieve by traditional methods.
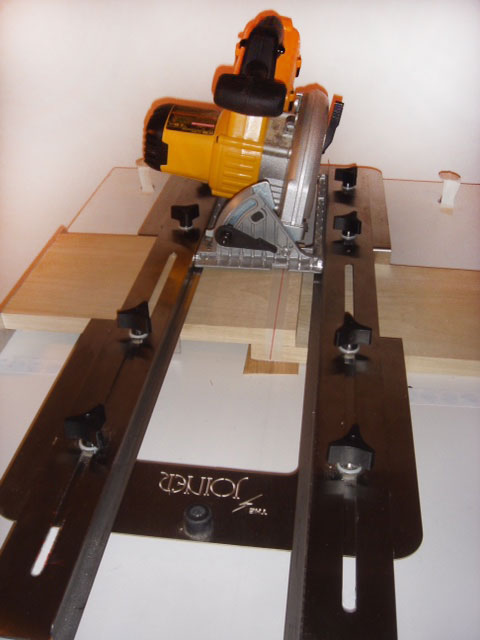
Use the JOINER saw guide to create high-quality inline butt joints by cutting both pieces of wood at once. You will appreciate both the speed and finish of the product when using this precision circular saw guide.
A PRO BUTT JOINT IN 60 SECONDS!
Whether you are a DIY person or a professional carpenter, the JOINER will help you to make a “PRECISON BUTT JOINT” of two boards on the job site in as little as 60 SECONDS!
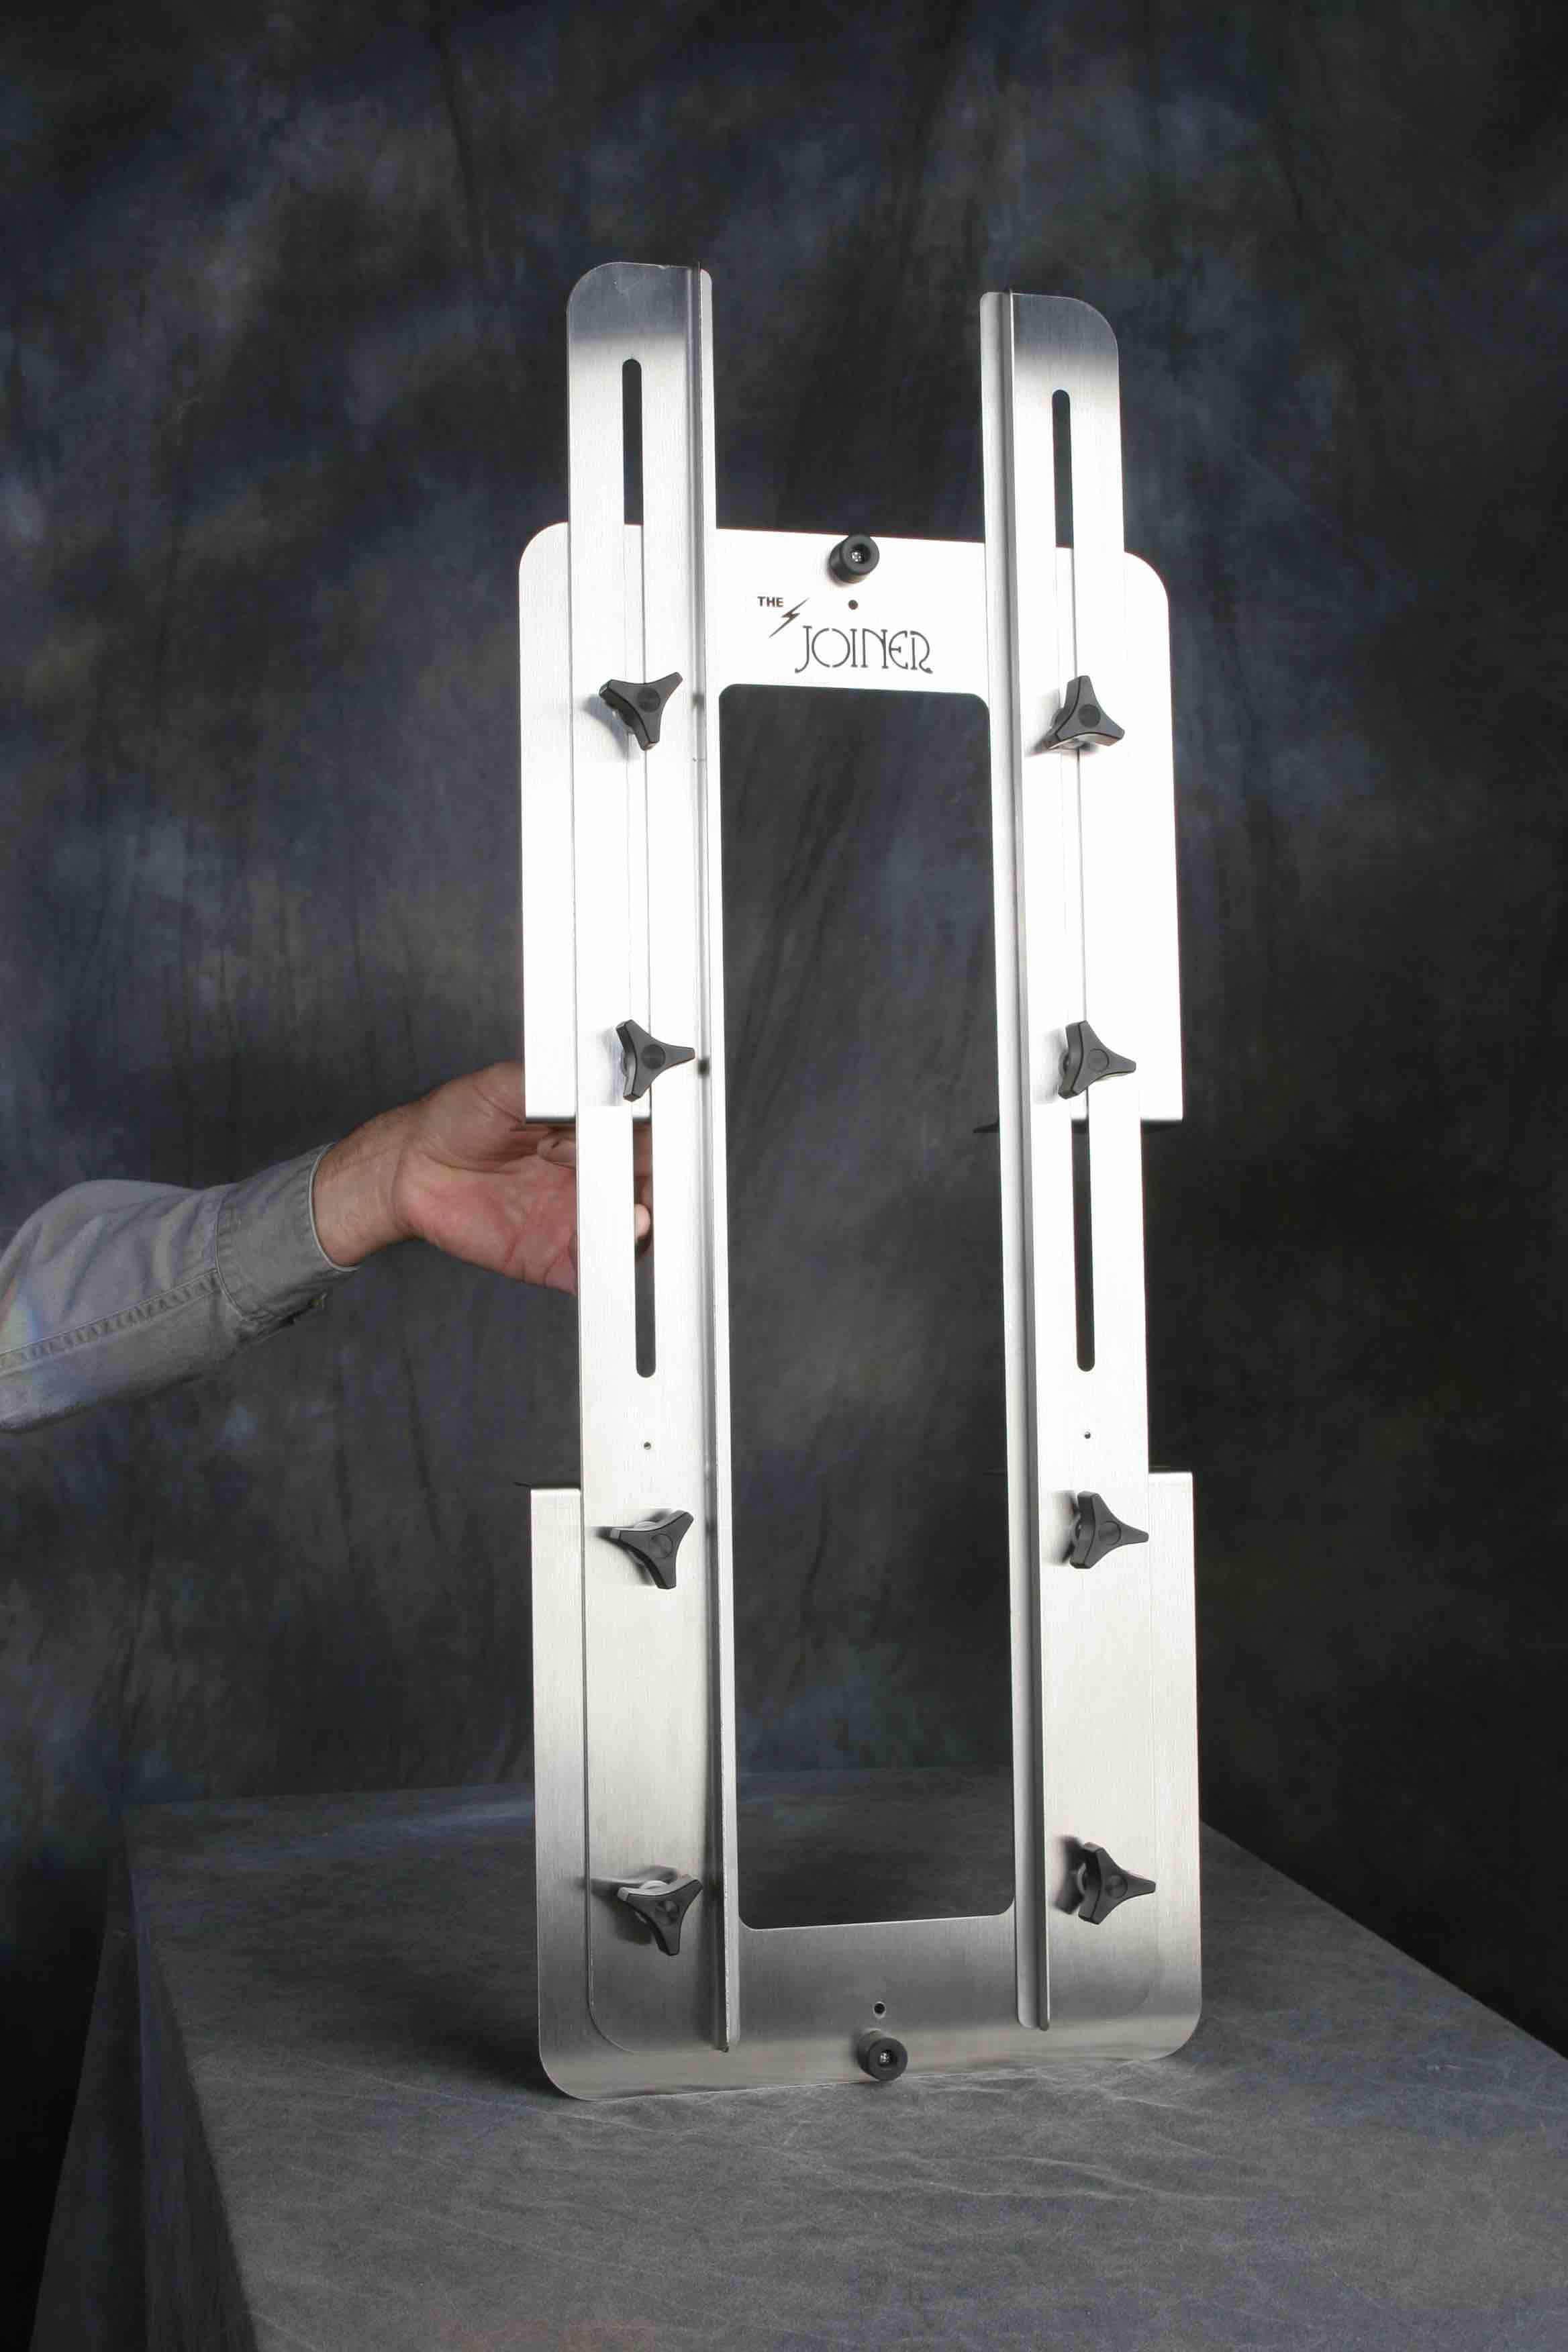
A New Type of Guide
Our circular saw guide is made of heavy duty stainless steel for durability and longevity. It's adjustable design allows it to work with most types of circular saws on the market. Having this device in your inventory, you will be able to join any size 3/4” boards, ranging from 1”x2” up to 1”x24” while achieving a seamless joint every time.
Learn more today by contacting, 60secondprobuttjoint.com.
Order Now